


When it comes to mobile testing, it’s important that the application works well on all the various platforms that customers will use. Virtual devices offer a practical, cost-effective solution for testing applications in various scenarios. By simulating the behavior of real devices, virtual devices allow developers and testers to mimic different conditions without needing physical hardware.
What are Virtual Devices?
In short, virtual devices are the mobile equivalent of virtual machines. This means that the software installed mimics the behavior of certain virtual devices (such as a tablet or a smartphone). Virtual devices remove the need for actual hardware, by using various operating systems, or network setups. Teams can test their mobile apps in different simulated scenarios by configuring virtual devices to simulate different screen sizes, resolutions, operating systems, and network conditions. Virtual devices are more convenient and cost-effective than real devices because companies don’t need to purchase every type of device used for testing.
The two types of virtual devices are emulators and simulators. Simulators represent an environment where the software parameters and settings act as the real environment for software. Emulators mimic the hardware of the device. Emulators are a better fit for low-level debugging because they closely mimic the hardware and details of a target environment. Simulators are more suited for higher-level testing because they yield better performance.
It’s worth mentioning that browsers such as Chrome also provide a sort of simulator. This allows users to see what a website or web app looks like on a certain device or resolution. This is helpful for quick checks to validate whether the pages are displayed properly. You can access this option from the Developer Tools by enabling the Toggle Device Toolbar option, selecting the device model you want to mimic, or entering your dimensions.
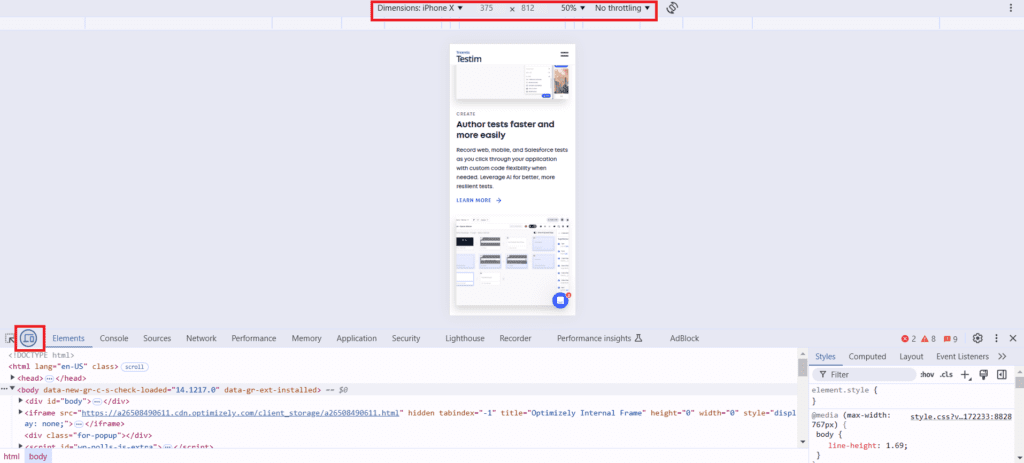
However, it is not as accurate as a virtual device as it can only mimic the screen resolution, not the device’s configuration.
What are the Benefits of Testing on Virtual Devices?
So why would you choose virtual devices over real ones? While they are not the real thing, they do offer many benefits:
- Better coverage for cross-platform testing: This one is a no-brainer. Of course, testing each physical configuration you expect to use is almost impossible. Virtual devices allow you to check the compatibility on multiple devices, many of which you don’t own physically and wouldn’t be able to test otherwise. You can also use a mobile grid, which allows you to configure multiple virtual devices, and also perform the tests in parallel.
- Time-saving: Testing on real devices means configuring each one, installing the application, and changing settings every time you want to test on a slightly different environment. Simulators and emulators should be set instantly with the required configuration, so the tester can directly execute the tests.
- Cost-effective: Having to pay for multiple real devices is a big expense, so by using virtual devices, your company can save money.
- Better for the environment: Testing on virtual devices requires fewer servers running simultaneously, so it has a reduced carbon footprint compared to real devices.
How to Test on Virtual Devices
Testing on virtual devices is not very different from other forms of mobile testing, the main difference is the setup. Below are the steps you need to take:
- Decide what devices to test on: First, you need to understand how you expect your users to interact with your application. Is the app developed for both Android and iOS? Will it be used mostly on mobile phones or also tablets? This is an important step so that your testing is as effective as possible. You should focus on the right devices without spending much time on those that will not be used in real-life.
- Configure the virtual devices: Once you know where you want to perform your tests, it’s time to configure the virtual devices on the selected platform (such as Android Studio or Testim).
- Launch the emulator: Start the emulator from the application you are using to make sure that everything is set up correctly and you have the right configuration.
- Install the application: Install the application under test on the devices so it’s ready for the test execution.
- Start the tests: Run the tests, either manually, or automatically.
Best Practices when Testing on Virtual Devices
There are some good practices to follow during the mobile testing process.
Don’t rely solely on virtual devices
While virtual devices are convenient and helpful, you should also run the tests on real devices. If you want to test the CPU usage, memory leaks, or different network connectivity, you should do these tests on an actual device.
Automate where you can
If you want to test on as many devices as possible, the work can get tedious. This also leads to possible mistakes. Automating tests so the same scenarios can be run under the same conditions, on different platforms is beneficial.
Run tests in parallel to save time
If you are automating tests, you can also try parallel execution. If you have a lot of devices configured, as well as a high number of tests, parallelizing them will save you time.
Conclusions
Virtual devices helps teams to ensure cross-platform compatibility, save time, and reduce costs. While they cannot replace the need for real devices, virtual devices offer unparalleled convenience and flexibility in testing, making them an essential tool in modern app development.


